Canvas의 기초-3

이전 글에 이어서 canvas 의 기초에 대해 더 알아보려한다. 이번 포스트에는 애니메이션, 이벤트에 대해서 알아본다.

애니메이션 만들기

캔버스 화면에서 이미지가 움직이는 애니메이션을 만드는 방법을 알아보려한다. setInterval 함수를 사용해서 구현해본다.

사각형을 x 축으로 왼쪽에서 오른쪽으로 움직이기

1
2
3
4
5
6
7
8
9
10
11
12
13
var canvas = document.getElementById('myCanvas');
var ctx = canvas.getContext('2d');
var ctxWidth = canvas.width;
var ctxHeight = canvas.height;
var x = 0;
function animate() {
ctx.clearRect(0, 0, ctxWidth, ctxHeight);
ctx.fillStyle = 'red';
ctx.fillRect(x, 10, 50, 50);
x++;
}

var animateInterval = setInterval(animate, 30);

사각형을 x축으로 이동

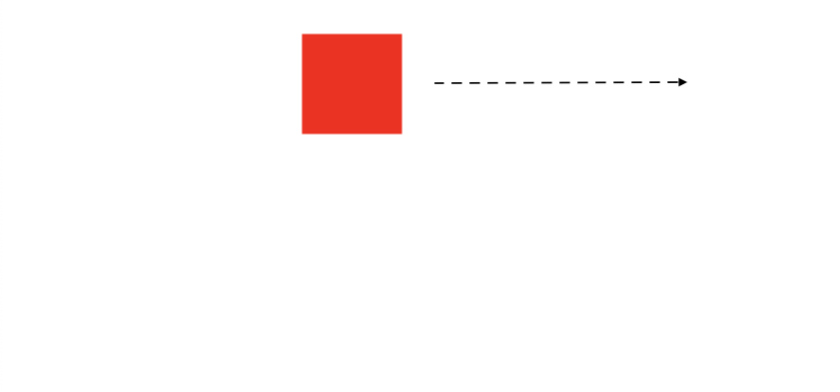
interval 에서 제일 먼저 clearRect 를 사용하여 캔버스를 깨끗이 지워줘야 한다. 이 부분이 없으면 빨간색 선이
그려진다.

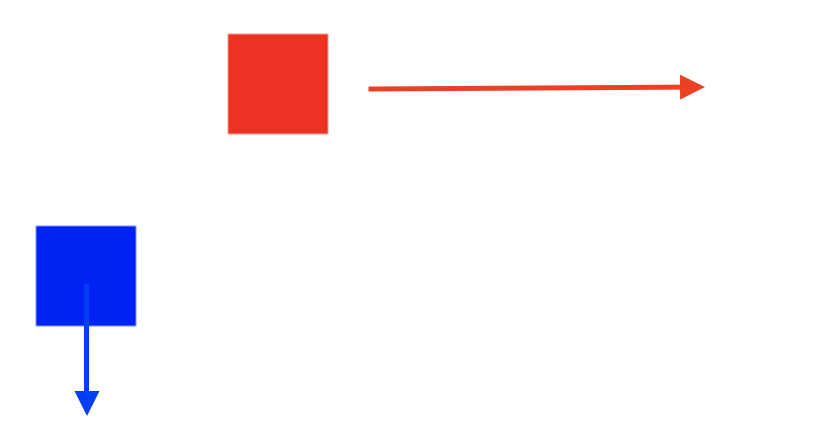
두개의 사각형을 만들고 애니메이션을 멈추게 하기

1
2
3
4
5
6
7
8
9
10
11
12
13
14
15
16
17
18
19
20
21
22
23
24
25
26
27
28
29
var canvas = document.getElementById('myCanvas');
var ctx = canvas.getContext('2d');
var ctxWidth = canvas.width;
var ctxHeight = canvas.height;
var x = 0;
var y = 0;
function animate() {
ctx.clearRect(0, 0, ctxWidth, ctxHeight);
ctx.fillStyle = 'red';
ctx.fillRect(x, 10, 50, 50);
ctx.fillStyle = 'blue';
ctx.fillRect(10, y, 50, 50);
x++;
y++;

// 영역 제한
if (x > ctxWidth) {
x = 0;
}

if (y > ctxHeight) {
y = 0;
}
}

var animateInterval = setInterval(animate, 30);
canvas.addEventListener('click', function () {
clearInterval(animateInterval);
})
  • 조건을 추가하여 x,y 값이 canvas 의 넓이, 높이값 보다 클 경우 0 으로 초기화 시켜준다.
  • canvas 에 이벤트를 추가하여 클릭했을때 애니메이션이 멈추게 했다.
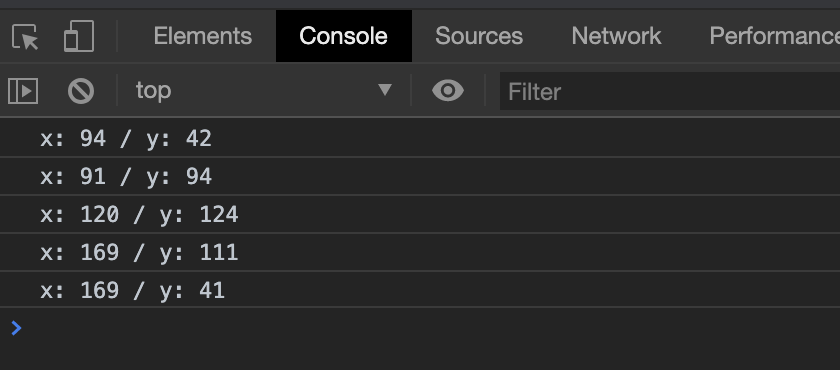
사각형을 x, y축으로 이동

클릭한 곳에 사각형 그리기

여기서부터는 게임을 만드는 것의 기본을 간단한 소스를 통해 확인해 본다.

마우스를 클릭한 곳으로 이동한다든지, 마우스를 클릭한 곳에 건물을 지을때 자주 볼 수 있다. 먼저 캔버스 위에
마우스로 클릭한 곳의 좌표를 얻어, 그 곳에 사각형을 그리는 것을 확인해 보자.

마우스로 클릭한 곳의 좌표 얻기

1
2
3
4
5
6
7
var canvas = document.getElementById('myCanvas');
var ctx = canvas.getContext('2d');
canvas.addEventListener('click', function (e) {
var mouseX = e.clientX;
var mouseY = e.clientY;
console.log(`x: ${mouseX} / y: ${mouseY}`);
})

클릭한 곳의 x, y, 좌표

1
2
3
4
5
6
7
8
9
var canvas = document.getElementById('myCanvas');
var ctx = canvas.getContext('2d');
canvas.addEventListener('click', function (e) {
var mouseX = e.clientX - ctx.canvas.offsetLeft;
var mouseY = e.clientY - ctx.canvas.offsetTop;
ctx.fillStyle = 'red';
// 마우스 클릭한 곳에서 사각형의 중심이 되어 생성
ctx.fillRect(mouseX - 10, mouseY - 10, 20, 20);
})

클릭한 곳에 사각형 그리기

백그라운드 이미지 애니메이션 만들기

이미지 애니메이션을 만들어보자. 스크롤 게임이나 기타 여러 게임에서 배경의 움직임은 공간을 넓게 쓰는 효과를
주기 위해 사용하는 방법이다.

이미지 애니메이션 만들기

1
2
3
4
5
6
7
8
9
10
11
12
13
var canvas = document.getElementById('myCanvas');
var ctx = canvas.getContext('2d');
var bgImages = new Image();
bgImages.src = 'images/space.png';
var x = 0;
function animate() {
ctx.drawImage(bgImages, x-- ,0);
if (x <= -600) {
x = 0;
}
}

var animateInterval = setInterval(animate, 30);

이미지 애니메이션

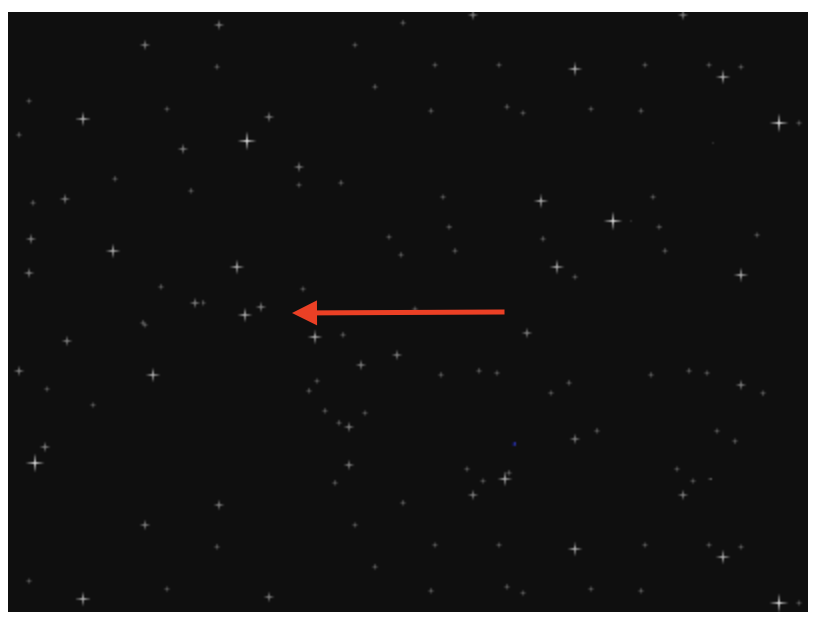
  • 위 이미지는 넓이가 1200px 이다. 이미지가 절반 지나갔을 때 x 좌표값을 초기화 한다.

이미지를 키보드로 움직이기

위 배경에 이어서 비행기 만들어보기

1
2
3
4
5
6
7
8
9
10
11
12
13
14
15
16
17
18
19
20
21
22
23
24
25
26
27
28
29
30
31
32
33
34
35
36
37
38
39
40
41
42
43
var canvas = document.getElementById('myCanvas');
var ctx = canvas.getContext('2d');

var bgImage = new Image();
bgImage.src = 'images/space.png';
var fighterImage = new Image();
fighterImage.src = 'images/fighter.png';

var x = 0;

function Background() {
this.x = 0;
this.y = 0;
this.w = bgImage.width;
this.h = bgImage.height;
this.render = function () {
ctx.drawImage(bgImage, this.x--, 0);
if (this.x < -600) {
this.x = 0;
}
}
}
function Player() {
this.x = 0;
this.y = 0;
this.w = fighterImage.width;
this.h = fighterImage.height;
this.render = function () {
ctx.drawImage(fighterImage, this.x, this.y);
}
}

var background = new Background();
var player = new Player();
player.x = 30;
player.y = 150;

function animate() {
background.render();
player.render();
}

var animateInterval = setInterval(animate, 30);

배경과 비행기

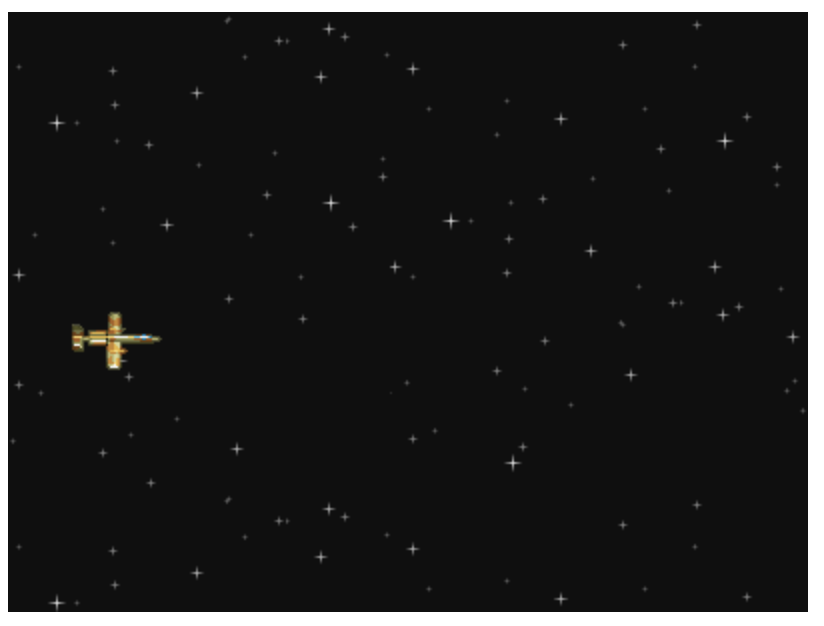
  • 배경 움직이는 소스(Background) 비행기 그리는 소스(Player) 로 만들어 render 함수로 그려준다.

키보드를 눌렀을 때 비행기가 움직이도록 하기

1
2
3
4
5
6
7
8
9
10
11
12
13
14
15
16
17
18
19
20
21
22
23
24
25
26
27
28
29
30
31
32
33
34
35
36
37
38
39
40
41
42
43
44
45
46
47
48
49
50
51
52
53
54
55
56
57
58
59
60
61
62
63
64
65
66
67
68
69
70
71
72
73
74
var canvas = document.getElementById('myCanvas');
var ctx = canvas.getContext('2d');

var bgImage = new Image();
bgImage.src = 'images/space.png';
var fighterImage = new Image();
fighterImage.src = 'images/fighter.png';

var speed = 5;
var keyCodeValue;

function Background() {
this.x = 0;
this.y = 0;
this.w = bgImage.width;
this.h = bgImage.height;
this.render = function () {
ctx.drawImage(bgImage, this.x--, 0);
if (this.x < -600) {
this.x = 0;
}
}
}
function Player() {
this.x = 0;
this.y = 0;
this.w = fighterImage.width;
this.h = fighterImage.height;
this.render = function () {
ctx.drawImage(fighterImage, this.x, this.y);
}
}

var background = new Background();
var player = new Player();
player.x = 30;
player.y = 150;

// animate 함수에서 매 시간당 업데이트 되는 것을 체크한다.
function update() {
switch (keyCodeValue) {
case 'W':
player.y -= speed;
break;
case 'S':
player.y += speed;
break;
case 'A':
player.x -= speed;
break;
case 'D':
player.x += speed;
break;
}
}

function animate() {
background.render();
player.render();
update();
}

var animateInterval = setInterval(animate, 30);

// 키보드를 클릭하였을때 반응
document.addEventListener('keydown', function (e) {
// 키보드의 키값을 가져온다.
keyCodeValue = String.fromCharCode(e.keyCode);
});

// 키보드 해제
document.addEventListener('keyup', function () {
keyCodeValue = ''
});

움직이는 비행기

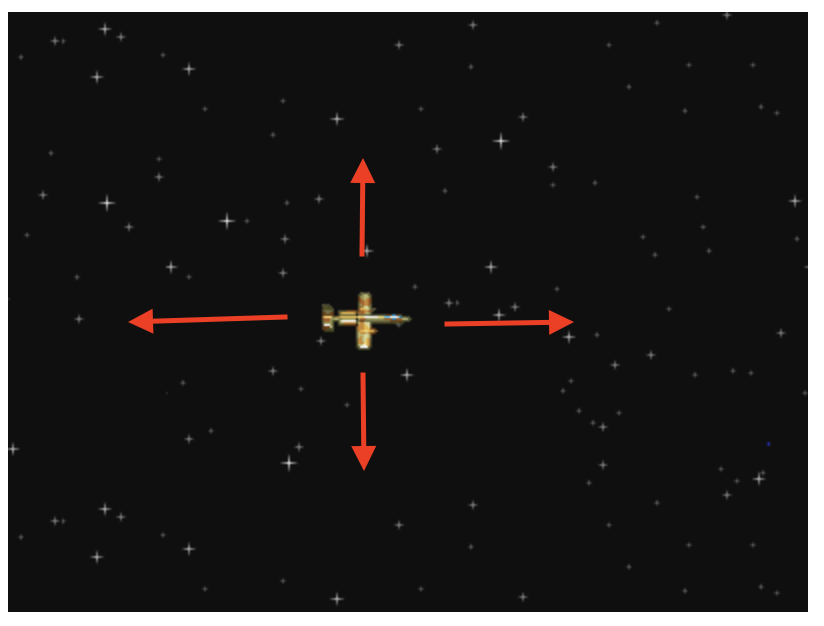
  • 비행기가 화면에서 움직일 속도를 speed 변수로 선언한다.
  • update 함수를 실행하는 동안에 키보드를 누르면 wasd 키를 확인하여 비행기의 좌표값에 속도를 더해서 변경한다.
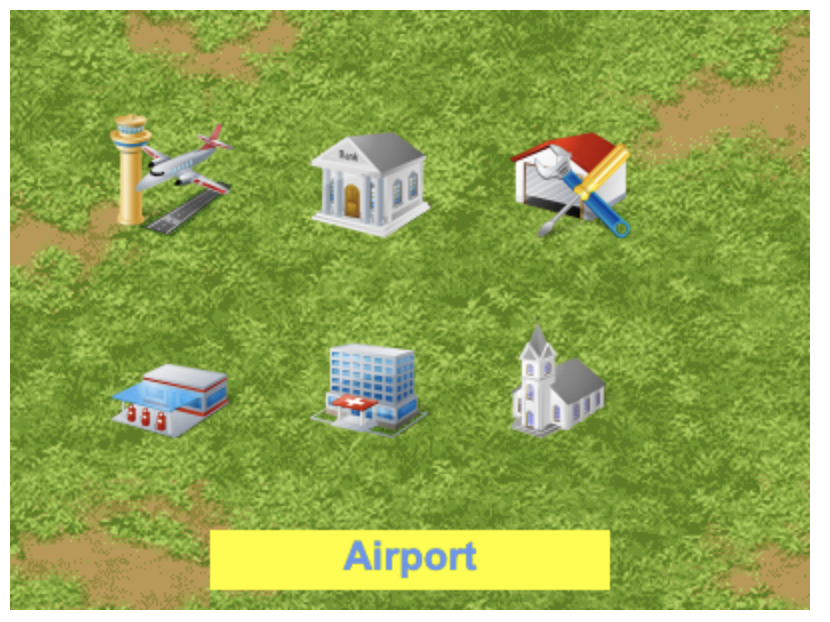
JSON 객체와 배열 처리하기

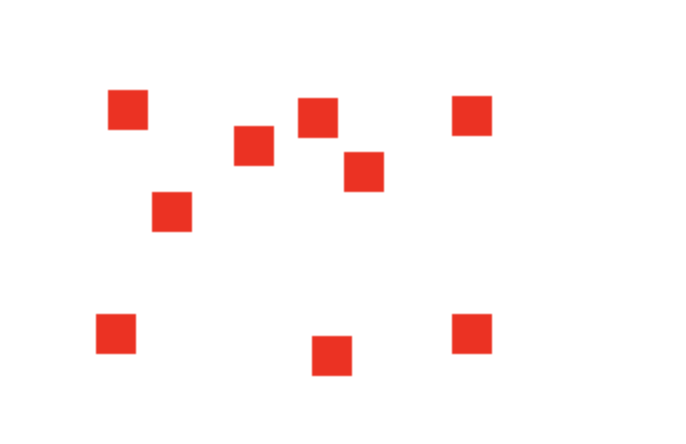
JSON 객체를 배열로 처리하여 사각형을 캔버스에 그리기

1
2
3
4
5
6
7
8
9
10
11
12
var canvas = document.getElementById('myCanvas');
var ctx = canvas.getContext('2d');
var buildings = [
{id: "house", x: 50, y:100, w:50, h:50, bg: 'magenta'},
{id: "hospital", x: 150, y:100, w:50, h:50, bg: 'green'},
{id: "firestation", x: 250, y:100, w:50, h:50, bg: 'orange'},
];

for (var i = 0; i < buildings.length; i++) {
var b = buildings[i];
ctx.fillStyle = b.bg;
ctx.fillRect(b.x, b.y, b.w, b.h);

json 배열

JSON 객체를 배열로 처리하여 이미지 그리기

1
2
3
4
5
6
7
8
9
10
11
12
13
14
15
16
17
18
19
20
var canvas = document.getElementById('myCanvas');
var ctx = canvas.getContext('2d');
var buildings = [
{id: "Airport", x: 50, y:50, w:64, h:64, sx:0, sy:0},
{id: "Bank", x: 150, y:50, w:64, h:64, sx:100, sy:0},
{id: "CarRepair", x: 250, y:50, w:64, h:64, sx:200, sy:0},
{id: "GasStation", x: 50, y:150, w:64, h:64, sx:300, sy:0},
{id: "Hospital", x: 150, y:150, w:64, h:64, sx:400, sy:0},
{id: "Temple", x: 250, y:150, w:64, h:64, sx:500, sy:0},
];

var buildingImage = new Image();
buildingImage.src = 'images/buildings.png';

buildingImage.onload = function () {
for (var i = 0; i < buildings.length; i++) {
var b = buildings[i];
ctx.drawImage(buildingImage, b.sx, b.sy, b.w, b.h, b.x, b.y, b.w, b.h);
}
}

json 배열 이미지

마우스 충돌 체크하기

위의 빌딩 소스를 이어서 진행한다.

결과 화면에서 빌딩의 위치를 가지고 있는 json 객체 데이터의 좌표를 체크하여 마우스를 클릭한 좌표와 비교하고
빌딩의 이름을 가져와 화면에 출력한다.

1
2
3
4
5
6
7
8
9
10
11
12
13
14
15
16
17
18
19
20
21
22
23
24
25
26
27
28
29
30
31
32
33
34
35
36
37
38
39
40
41
42
43
44
45
46
47
48
49
50
51
var canvas = document.getElementById('myCanvas');
var ctx = canvas.getContext('2d');
var buildings = [
{id: "Airport", x: 50, y:50, w:64, h:64, sx:0, sy:0},
{id: "Bank", x: 150, y:50, w:64, h:64, sx:100, sy:0},
{id: "CarRepair", x: 250, y:50, w:64, h:64, sx:200, sy:0},
{id: "GasStation", x: 50, y:150, w:64, h:64, sx:300, sy:0},
{id: "Hospital", x: 150, y:150, w:64, h:64, sx:400, sy:0},
{id: "Temple", x: 250, y:150, w:64, h:64, sx:500, sy:0},
];

// 배경 이미지
var bgImage = new Image();
bgImage.src = 'images/background.png';

// 빌딩 이미지
var buildingImage = new Image();
buildingImage.src = 'images/buildings.png';

buildingImage.onload = function () {
ctx.drawImage(bgImage, 0, 0);
for (var i = 0; i < buildings.length; i++) {
var b = buildings[i];
ctx.drawImage(buildingImage, b.sx, b.sy, b.w, b.h, b.x, b.y, b.w, b.h);
}
};

document.addEventListener('click', function (e) {
var mouseX = e.clientX - ctx.canvas.offsetLeft;
var mouseY = e.clientY - ctx.canvas.offsetTop;

for (var i = 0; i < buildings.length; i++) {
var bData = buildings[i];
// 마우스 좌표를 체크하여 빌딩의 이름을 가져온다.
if (
mouseX >= bData.x &&
mouseX < bData.x + bData.w &&
mouseY >= bData.y &&
mouseY < bData.y + bData.h
) {
ctx.clearRect(100, 260, 200, 30);
ctx.fillStyle = 'yellow';
ctx.fillRect(100, 260, 200, 30);

ctx.fillStyle = '#6495ED';
ctx.textAlign = 'center';
ctx.font = 'bold 20px Arial, sans-serif';
ctx.fillText(bData.id, 200, 280);
}
}
})

화면에서 공항을 클릭한 화면

참조: HTML5 캔버스
github

댓글

You need to set client_id and slot_id to show this AD unit. Please set it in _config.yml.