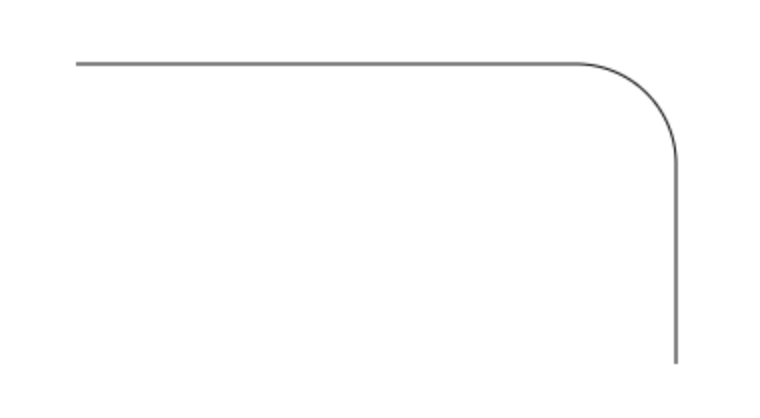
context.arcTo(x1, y1, x2, y2, r) x1: 시작하는 점의 x 좌표 y1: 시작하는 점의 y 좌표 x2: 끝나는 점의 x 좌표 y2: 끝나는 점의 y 좌표 r: 호의 반지름
quadraticCurve 그리기
1 2 3 4 5 6 7 8
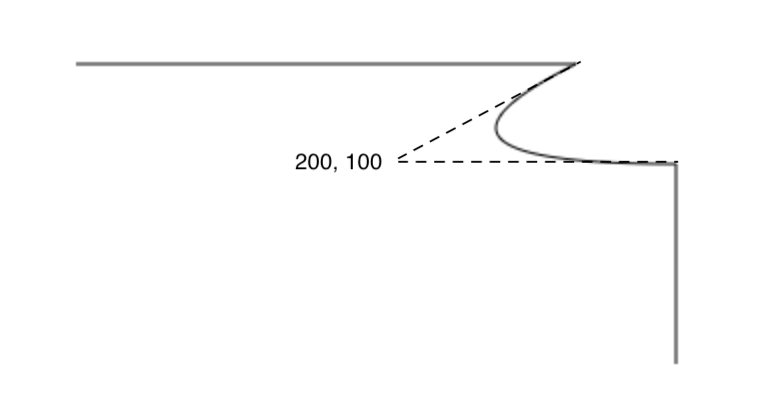
var canvas = document.getElementById('myCanvas'); var ctx = canvas.getContext('2d'); ctx.beginPath(); ctx.moveTo(50, 50); ctx.lineTo(300, 50); ctx.quadraticCurveTo(200, 100, 350, 100); ctx.lineTo(350, 200); ctx.stroke();
quadraticCurveTo 함수를 이용하여 하나의 조절점의 커브를 그린다.
context.quadraticCurve(cpx, cpy, x, y) cpx: 조절하는 점의 x 좌표 cpy: 조절하는 점의 y 좌표 x: 끝나는 점의 x 좌표 y: 끝나는 점의 y 좌표
bezierCurve 그리기
1 2 3 4 5 6 7 8
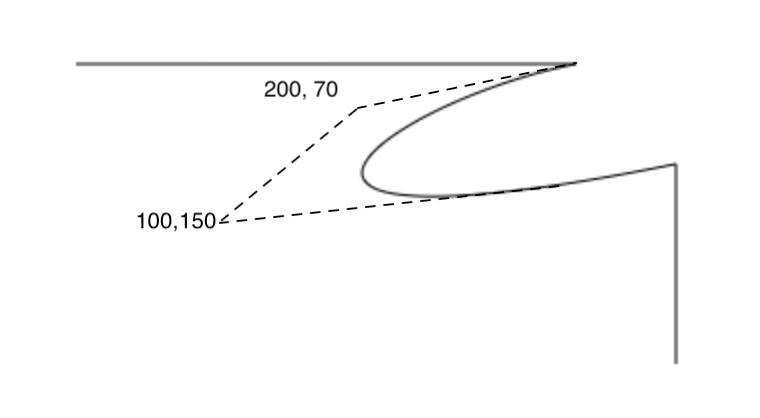
var canvas = document.getElementById('myCanvas'); var ctx = canvas.getContext('2d'); ctx.beginPath(); ctx.moveTo(50, 50); ctx.lineTo(300, 50); ctx.bezierCurveTo(200,70, 100,150, 350,100); ctx.lineTo(350, 200); ctx.stroke();
bezierCurveTo 함수를 이용하여 두 조절점의 커브를 그린다.
context.bezierCurveTo(cp1x, cp1y, cp2x, cp2y, x, y) cp1x: 조절하는 점 1번째의 x 좌표 cp1y: 조절하는 점 1번째의 y 좌표 cp2x: 조절하는 점 2번째의 x 좌표 cp2y: 조절하는 점 2번째의 y 좌표 x: 끝나는 점의 x 좌표 y: 끝나는 점의 y 좌표
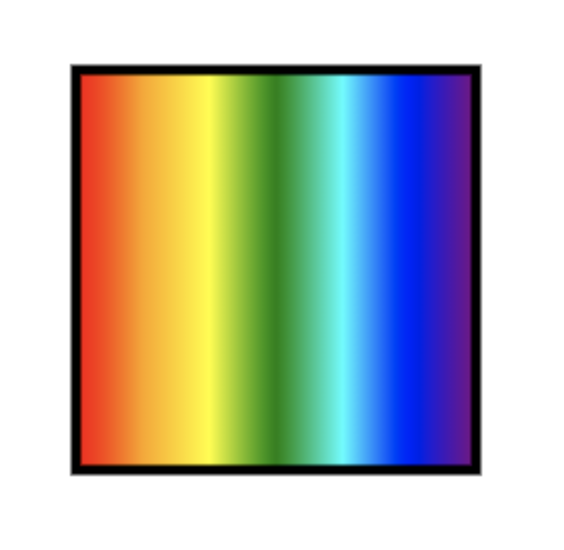
ctx.createLinearGradient(x0, y0, x1, y1); x0: 시작하는 점의 x 좌표 y0: 시작하는 점의 y 좌표 x1: 끝나는 점의 x 좌표 y1: 끝나는 점의 y 좌표
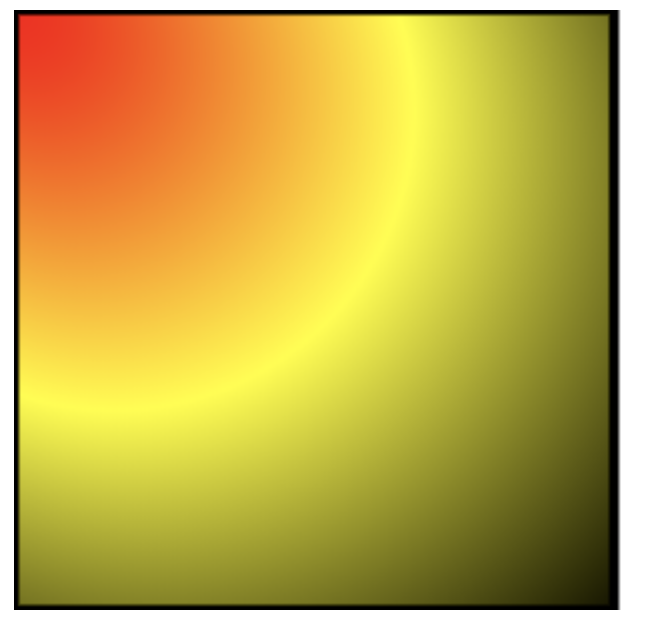
radial gradient
1 2 3 4 5 6 7 8 9 10
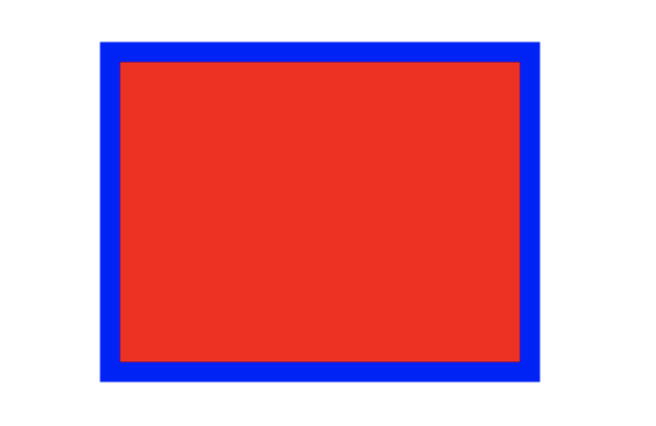
var canvas = document.getElementById('myCanvas'); var ctx = canvas.getContext('2d'); var grad = ctx.createRadialGradient(0, 0, 0, 100, 100, 300); grad.addColorStop(0, 'red'); grad.addColorStop(0.5, 'yellow'); grad.addColorStop(1, 'black'); ctx.lineWidth = 5; ctx.fillStyle = grad; ctx.fillRect(0, 0, 300, 300); ctx.strokeRect(0, 0, 300, 300);
ctx.createRadialGradient(x0, y0, r0, x1, y1, r1); x0: 시작하는 점의 x 좌표 y0: 시작하는 점의 y 좌표 r0: 시작하는 곳의 반지름 x1: 끝나는 점의 x 좌표 y1: 끝나는 점의 y 좌표 r1: 끝 나는 곳의 반지름
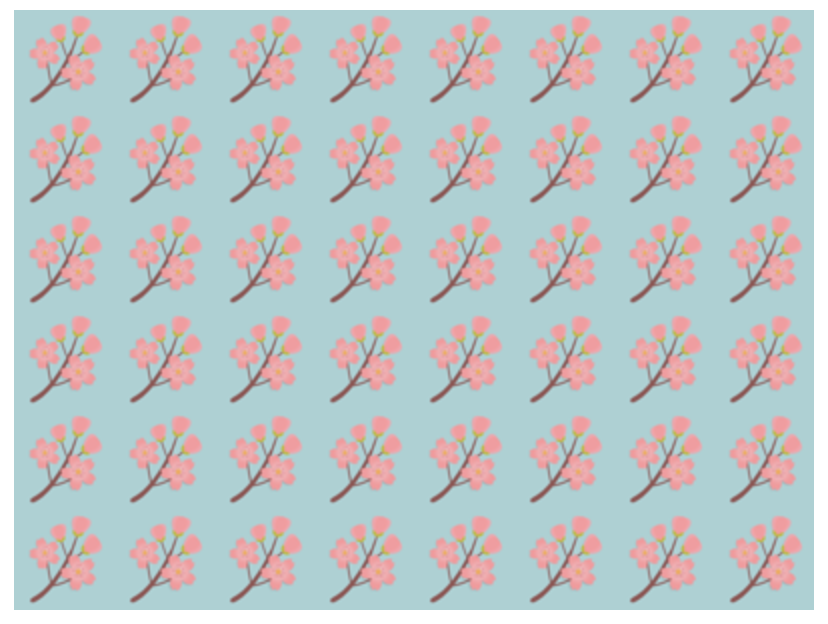
패턴으로 사각형 채우기
1 2 3 4 5 6 7 8 9
var canvas = document.getElementById('myCanvas'); var ctx = canvas.getContext('2d'); var flower = new Image(); flower.src = "images/flower.png"; flower.onload = function () { var pattern = ctx.createPattern(flower, "repeat"); ctx.fillStyle = pattern; ctx.fillRect(0, 0, canvas.width, canvas.height); }
createPattern 를 이미지를 넘겨주어 실행한다.
context.createPattern(image, “repeat”);
repeat: 패턴을 반복하여 채운다.
repeat-x: x축으로 반복하여 채운다.
repeat-y: y축으로 반복하여 채운다.
no-repeat: 반복하지 않는다.
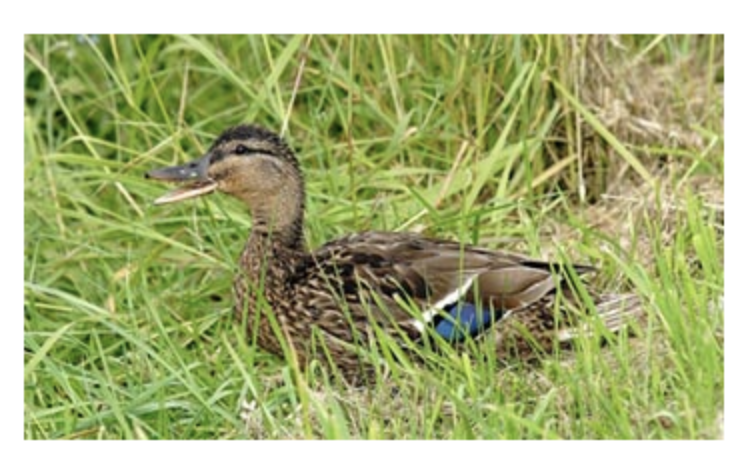
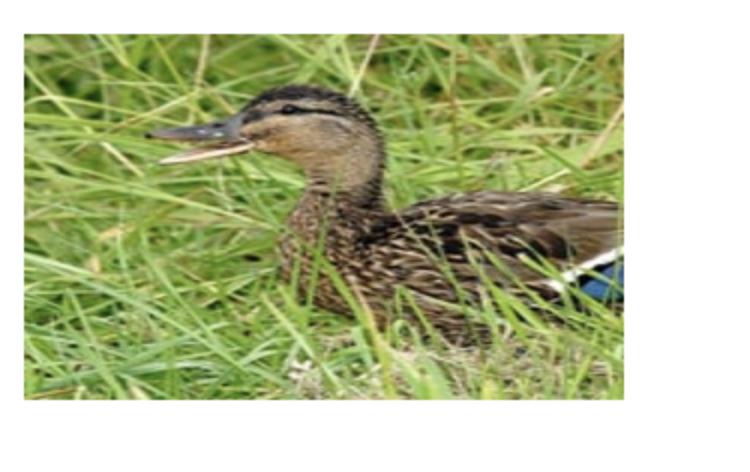
이미지 그리기
이미지를 원래 크기대로 그리기
1 2 3 4 5 6 7
var canvas = document.getElementById('myCanvas'); var ctx = canvas.getContext('2d'); var myPic = new Image(); myPic.src = 'images/duck.jpg'; myPic.onload = function () { ctx.drawImage(myPic, 10, 10); }
context.drawImage(img, x, y)
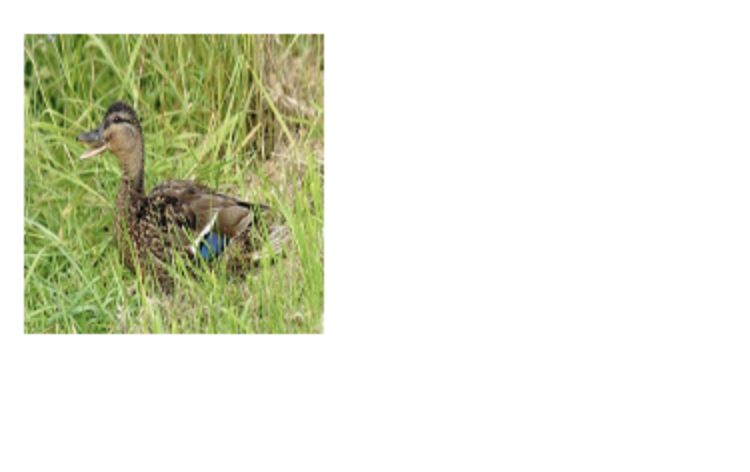
이미지의 크기를 변형하여 그리기
1 2 3 4 5 6 7
var canvas = document.getElementById('myCanvas'); var ctx = canvas.getContext('2d'); var myPic = new Image(); myPic.src = 'images/duck.jpg'; myPic.onload = function () { ctx.drawImage(myPic, 10, 10, 150, 150); }
context.drawImage(img, x, y, width, height)
이미지를 잘라 일부만 그리기
1
2
3
4
5
6
7
var canvas = document.getElementById('myCanvas');
var ctx = canvas.getContext('2d');
var myPic = new Image();
myPic.src = 'images/duck.jpg';
myPic.onload = function () {
    ctx.drawImage(myPic, 20, 20, 200, 200, 10, 10, 300, 200);
}
context.drawImage(img, sx, sy, swidth, sheight, x, y, width, height) sx: 소스 이미지에서 잘라 가져올 시작점의 x 좌표 sy: 소스 이미지에서 잘라 가져올 시작점의 y 좌표 swidth: 소스 이미지에서 잘라 가져올 시작점 기준의 이미지 폭 sheight: 소스 이미지에서 잘라 가져올 시작점 기준의 이미지 높이